The Hidden Settings That Make or Break Your CS2 Skins
Let's break down exactly how your config is butchering—or beautifying—your inventory.
Viewmodel: The Ultimate Skin Showcase vs. Competitive Clarity
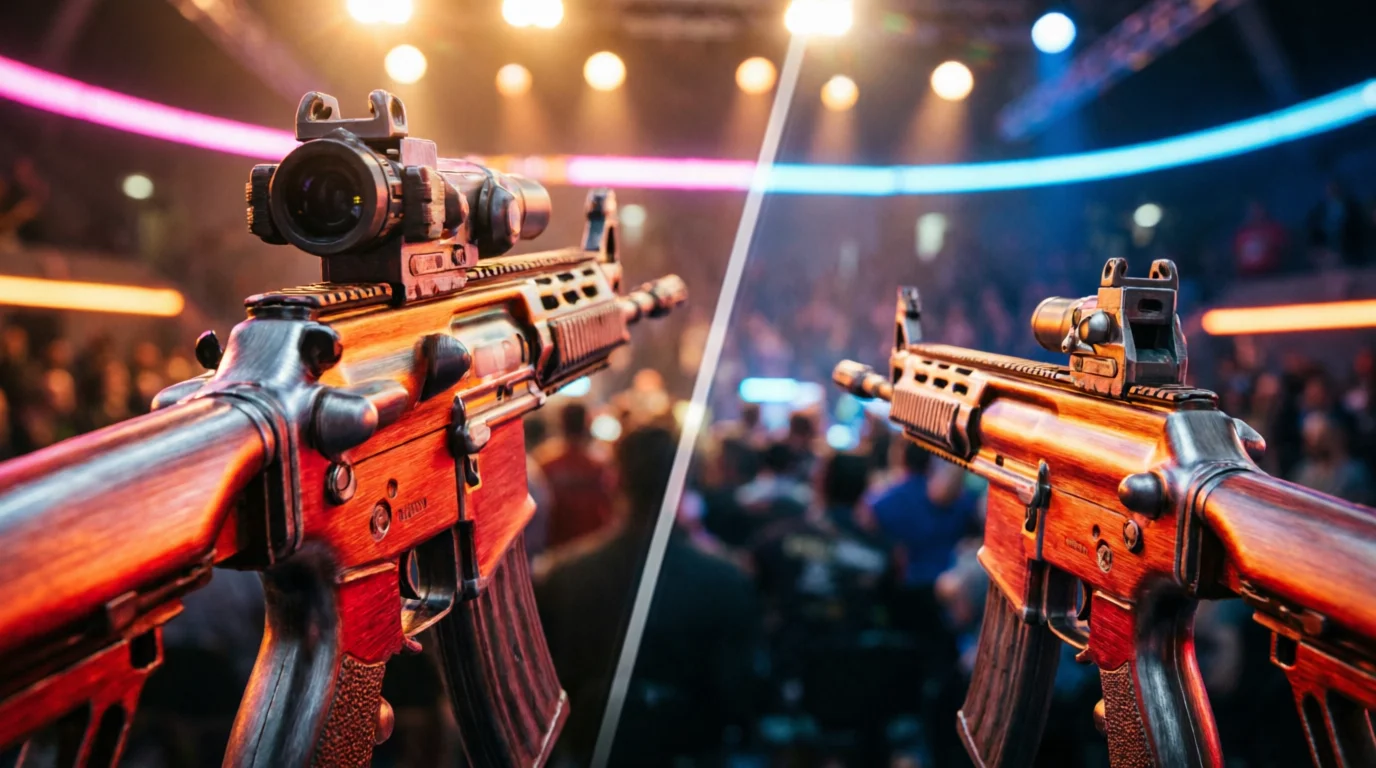
This is the single biggest factor. Your viewmodel determines how much of your weapon you see, its angle, and its position on screen. CS2 offers presets, but the community has dug deeper.
- Desktop Preset: This is the skin enthusiast's secret weapon. It pulls the weapon model down and towards the center of your screen. The result? Your rifle takes up nearly 25% more screen real estate. You see more of the magazine, more of the stock, more of the intricate artwork on the USP-S | Printstream. For inspecting and appreciating detail, it's unmatched. But for competitive play, it's visual clutter. That giant AWP barrel blocks your lower-right peripheral vision.
- Classic Preset: The competitive standard. The weapon is shifted up and to the right, clearing the crucial crosshair area for tracking targets. You see less of your skin, but you have a cleaner, more focused view of the game world. This is what pros like s1mple and ZywOo use. The skin becomes a peripheral accessory, not the main event.
- Custom Viewmodel Commands (The Real Deep Dive): The presets are just combinations of three
cl_viewmodel_commands. You can tweak these in an autoexec.cfg file for a perfect blend:cl_viewmodel_offset_x(Left/Right): Negative values move it left, positive moves it right.cl_viewmodel_offset_y(Forward/Back): Positive brings it "closer" to you, making it appear larger.cl_viewmodel_offset_z(Up/Down): Positive raises it, negative lowers it.
cl_viewmodel_offset_x 0.5; cl_viewmodel_offset_y 1; cl_viewmodel_offset_z -1. This gives a slightly larger, more centered view than Classic without going full Desktop obnoxious. Experiment in a private server. The difference on a skin like the Karambit | Doppler, where the blade animation and play of light is everything, is night and day.Shader Quality: Where Skins Get Their Soul
If Viewmodel is the frame, Shader Quality is the paint and lighting inside it. This setting controls the complexity of materials, reflections, and light interactions. Crank it to "High" and your skins come alive. Drop it to "Low" and they become flat, lifeless textures.
High Shader Quality:
- PBR Materials Work: Skins with anisotropic brushed metals, like the M4A1-S | Nightmare, actually look brushed. The grooves catch light.
- True Reflections: The glossy finish on a Desert Eagle | Blaze or a P90 | Asiimov behaves like real lacquer. You'll see environmental reflections (dimly) on the surface.
- Pearlescent & Doppler Effects: This is non-negotiable. On Low, a Butterfly Knife | Doppler Phase 2 looks like a smudge of pink and grey. On High, the Doppler effect properly swirls and shifts, and the pearlescent coats on skins like the MAC-10 | Neon Rider have an internal glow.
- Specular Highlights: The "shininess" on wear. A Battle-Scarred AK-47 | Redline will have deep, dark scratches that don't reflect light, while the remaining red paint will have a subtle sheen. On Low, it's all just a flat, dirty red.
Map Lighting: The Uncontrollable Variable
This is the wildcard. CS2's new lighting system means your skin can look completely different depending on the map and your position on it. It's not just brightness; it's color temperature and environment maps.
- Dust II (day): Harsh, direct yellow sunlight. It washes out some colors but makes golds and yellows (like on a Desert Eagle | Cobalt Disruption) pop. Reds can look orange.
- Inferno: Warm, golden-hour lighting. It's famously flattering. Skins look rich and saturated. It's the Instagram filter of CS2 maps. A AK-47 | Bloodsport looks absolutely vicious here.
- Nuke (outside): Cold, blue-ish overcast light. This can make some skins look dull, but it makes blues and silvers shine. A USP-S | Cortex or a P250 | Visions looks more futuristic here.
- Ancient/Mirage: More neutral, balanced lighting. This is probably the most "accurate" representation of a skin's colors.
- Dark Corners/Interiors: This is where emissive elements (parts that glow) become kings. The neon on a MP9 | Starlight Protector or the glowing eyes on a XM1014 | Zombie Offensive are completely invisible in bright light but dominate in dark areas like Apps on Inferno or Palace on Mirage.
You can't control the map in matchmaking, but knowing this explains why your knife looks "different" round to round. For screenshots? You always choose your location.
The Inspect Animation (F Key): More Than a Spin
Spamming F isn't just for show. It's a critical tool for evaluating a skin in motion. Static screenshots lie.
- Pattern Discovery: This is huge for Case Hardened and Fade knives. The inspect animation on a Karambit | Case Hardened rotates the blade, revealing blue gem spots on the back that you'd never see in idle hold. The full fade percentage on a Butterfly Knife | Fade is only confirmed by inspecting it.
- Material Flow: Pearlescent, Doppler, and Marble Fade skins change with angle. The inspect animates this flow. Does the pink on your Bayonet | Doppler Phase 2 cover the tip during the spin? That's value.
- Wear Spotting: The inspect often exposes the worst wear areas. On a Gloves | Specialist Fade, it might show the torn knuckles. On an AWP, it flips the gun to show the often-worn stock.
- Sticker Application: On rifles, the inspect animation tilts the weapon, letting you see the top of the receiver and the sticker on the magazine—crucial for evaluating a 4x craft.
Screenshotting Like a Pro: Beyond F12
If you want to sell or just show off, you need better than a default 16:9 screenshot mid-game. Here's the craft:
- Use
cl_draw_only_deathnotices 1: This command hides the HUD, crosshair, and weapon. It gives you a clean canvas. Bind it to a key. - Find Your Light: Go to a flattering spot on a flattering map. Inferno's T-spawn balcony, the sunny side of Mirage mid, or the clean white walls of Nuke's lobby.
- Set Up the Shot: Use your custom Desktop-like viewmodel. Equip your skin. Use
cl_draw_only_deathnotices 1to hide the UI. - The Secret Weapon:
cl_show_observer_crosshair 0& Observer Mode: Have a friend join a private server. Go into observer mode (spectate them). You can now move the camera freely, zoom in, and get cinematic angles of your weapon on the ground or in their hands—with no viewmodel at all. This is how the best showcase videos and screenshots are made. - Resolution & Aspect Ratio: Screenshot in 4K if you can. Ultra-wide (21:9) aspect ratios can create stunning, framed compositions of a knife or glove.
The Eternal Trade-Off: Performance vs. Prestige
So, what do you choose? The community is split, but the line is clear.
The Skin Collector/Showcase Player: Everything maxed. Desktop viewmodel. They might even play on 16:9 for the full visual experience. They're in the game to see their inventory in action, often in community servers, trade maps, or even Danger Zone. Winning is secondary to looking good while doing it.
Honestly, there's no right answer. But if you've ever wondered why your friend's knife looks brighter, bigger, or more detailed than yours even though you have the same float—it's not magic. It's a config file. Your settings are the lens through which you view a multi-billion dollar digital art market. You can choose a pinhole camera or a high-definition zoom lens. The game, and your skins, will look completely different depending on your choice.