Don't Get Scammed: A Practical Guide to Checking CS2 Skins Before You Buy
You've found the skin you want. The price looks right. Your finger hovers over the "Buy" button. Stop.
Here's how to check CS2 skins like a veteran who's been trading since 2014—using real tools, real mechanics, and zero fluff.
Why "Just Looking at Float" Isn't Enough
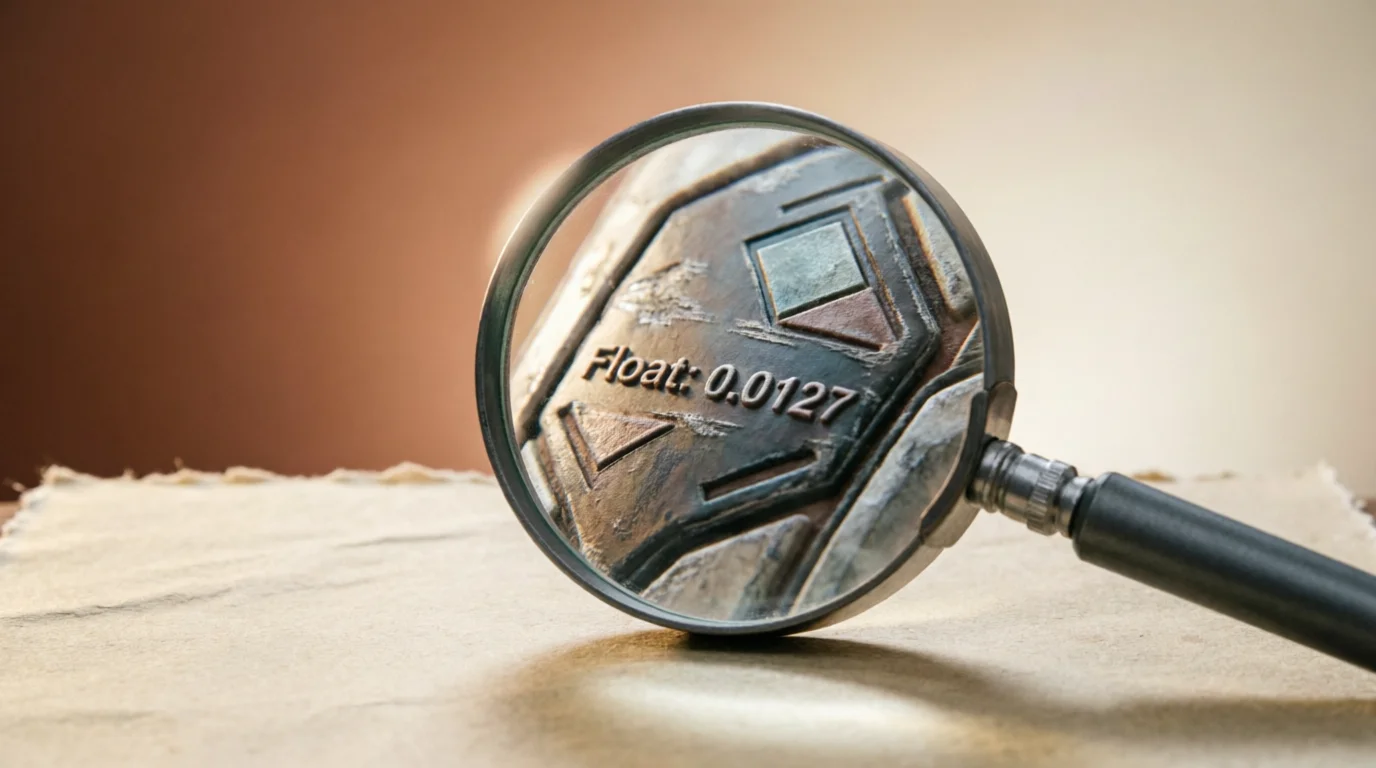
What CS2 doesn't tell you: Float is just the starting point. A skin with a 0.0001 float can look like garbage if the pattern index is ugly or the wear is concentrated on the play side. Meanwhile, a 0.07 float skin can look cleaner than most Factory New ones if the pattern is right.
Personally, I think the community overvalues float by about 80%. You're buying appearance, not a number. So stop treating float as the final answer.
What float actually tells you: The overall wear range. 0.00-0.07 is Factory New, 0.07-0.15 is Minimal Wear, 0.15-0.38 is Field-Tested, 0.38-0.45 is Well-Worn, 0.45-1.00 is Battle-Scarred. But within each range, wear distribution varies massively depending on the skin's wear pattern file.
What float doesn't tell you: Pattern index, sticker wear, whether there's a name tag, inspection angle issues, or if that "clean" screenshot was taken with max shadows and perfect lighting.
Let's fix this.
Step 1: Steam Market Inspect Link (Built-in, Free, Essential)
Every skin on the Steam Community Market has an "Inspect in Game" button. Clicking it launches CS2 and loads the skin into the inspect view. This is the basic tool—there's no reason not to use it.
How to do it correctly:
- In the market listing, click "Inspect in Game" (don't just click the item name).
- Wait for CS2 to load the inspect screen. If it's slow, check if the game is minimized—sometimes it loads behind other windows.
- Once loaded, slowly rotate the skin. Don't just glance at it. Spin it 360 degrees. Look at the edges, barrel, and stock.
- For weapons, zoom in on the play side—the side facing you when holding the weapon in first-person. For most rifles, this is the right side of the inspect view. For pistols, it varies by model.
- Check the four corners of the skin. Wear is rarely evenly distributed—it concentrates on edges, screws, and high-contact areas.
What to look for:
- Scratches and wear: Are they on the play side or the back side? If they can be hidden by your hand in-game, they matter less.
- Pattern placement: For skins like AK-47 | Case Hardened, a blue gem pattern on the play side is worth 10x more than blue on the back. For M4A4 | Howl, the wolf face needs to be centered and visible.
- Sticker condition: Are they scratched? Faded? Misaligned? More on this later.
Hidden trap: The default inspect view sometimes uses a specific camera angle to hide wear. You must manually rotate to see the full picture. I've seen people buy "clean" skins only to find a huge scratch on the barrel that was completely invisible from the default angle.
Step 2: Third-Party Inspection Tools (CSFloat, SkinBid, Buff163)
The Steam Market inspection feature is decent, but it's slow and has limited functionality. Third-party tools allow you to obtain more data before entering the game.
CSFloat (The All-Around Best Choice)
CSFloat's inspect tool is absolutely the most practical option for serious buyers. Here's how to use it:
- Copy the skin inspect link from Steam (right-click on a market listing and select "Copy Link Address").
- Paste the link into CSFloat's inspect tool (or use its browser extension to generate it automatically).
- CSFloat will display:
- Exact Float Value, accurate to five decimal places
- Pattern Template Index (crucial for skins like Case Hardened, Fade, Doppler, etc.)
- Sticker Positions and Wear — it highlights each sticker individually along with its wear percentage
- Multi-Angle Screenshot Preview
- Market Comparison for similar float values/pattern templates
The Real Highlight: CSFloat's sticker wear display feature. It precisely shows the independent wear level of each sticker, rather than a single "wear" value. A scratch on a 2014 Katowice sticker can cause its value to plummet by 50%. CSFloat lets you see the damage before you buy.
SkinBid (For Real-Time Auctions & Quick Inspections)
SkinBid's inspection tool is similar in function but specifically designed for its auction system. Use it when placing bids:
- Displays a rotatable 3D model preview
- Clearly shows the float value and pattern template index
- Displays the wear condition of each sticker individually (though not as detailed as CSFloat)
Pro Tip: On SkinBid, always click the "In-Game Inspect" button as well—their 3D preview sometimes uses compressed textures that may mask wear marks.
Buff163 (The God of the Chinese Market)
If you buy from Buff (and you should, as it's the largest CS2 market), their inspect tool is directly integrated into the product page. It displays:
- Float, Pattern, Stickers, and Name Tags
- A rotatable 3D preview
- "Inspect Side" and "Backside" toggle for knives (more on this later)
Warning: Buff's preview sometimes uses lower-resolution textures than the in-game version. If the price is high, be sure to double-check using Steam Inspect.
Step 3: What Else to Check Besides Float
Pattern Index
This is where the real money is made. Two skins with the same float can differ in price by 10,000% due to the pattern index.
- Case Hardened: The pattern index determines the distribution of blue, gold, and purple. A "Blue Gem" pattern (high blue coverage on the playside) can be worth thousands of dollars. A "Gold" pattern (no blue) is worth only 10% of that.
- Fade: The pattern index controls the fade percentage—the proportion of yellow, pink, purple, and blue on the skin. For knives like the Karambit | Fade, a 95% fade is worth more than an 80% fade.
- Doppler: Phases matter (P1-P4, Ruby, Sapphire, Black Pearl). The pattern index determines the exact color distribution. A "Max Blue" Phase 4 is more valuable than a "darker" one.
- Crimson Web: The pattern index controls the web distribution. A centered web on the playside? That's a premium.
How to check patterns: Use the inspect tools on CSFloat or Buff. They will show the pattern index number (0-1000). For Case Hardened, you need to look at actual screenshots—the pattern index alone won't tell you the visual outcome.
Sticker Placement and Wear
Stickers are the most easily overlooked aspect. Here’s a checklist:
- Are the stickers scratched? Sticker wear is calculated separately from skin wear. A skin with 0.00 float may have stickers with up to 90% wear. Check the condition of each sticker individually.
- Are the stickers placed correctly? Some collectors care about sticker placement. A 2014 Katowice sticker perfectly centered on the wooden stock of an AK-47 | Redline is worth far more than one slightly off-position.
- Is it craftable? Some stickers are "scraped" (intentionally worn) to remove the background. This is a legitimate craft, but it reduces resale value to non-collectors.
- Are they from the same tournament? "Katowice 2014" or "Katowice 2015" craft sets hold more value than mixed combinations.
Name Tag
Name tags can hide issues. Some sellers apply name tags to skins to conceal scratches or wear. Be sure to check:
- Does the name tag cover up scratches? On certain skins, the name tag's overlay can obscure part of the pattern.
- Is the name tag itself worn? Name tags can also show wear—though it's purely cosmetic.
Core Issue: For some collectors, a name tag makes a skin lose its "original" status. If you're buying a rare pattern for investment, a name tag can actually reduce its value. Inspect carefully before purchasing.
Step 4: Screenshots vs. In-Game Reality
Let’s be honest: Screenshots can be deceiving. All third-party websites use compressed textures for previews, and Steam Market screenshots are notoriously misleading. Here are a few things to keep in mind:
"Screenshot Traps"
- Maximum Brightness: Sellers often crank the brightness to the max to make wear less noticeable. An AWP | Dragon Lore might look vibrant in screenshots, but under normal in-game lighting, it could appear dull.
- Angled Concealment: Screenshots taken from above can hide barrel scratches; shots from the left can hide stock wear.
- Sticker Reflection: Some screenshots make stickers look shinier, but in-game stickers have a matte finish and may appear dull.
- Float Value Fraud: Screenshots can't display the float value. I've seen skins labeled "Factory New" that look pristine in screenshots, but the actual float value is 0.0699—barely Factory New and often with scratches.
How to Spot Tampered Screenshots
- Check Resolution: If the screenshot is unusually sharp, it may be a render rather than an in-game screenshot. Real in-game screenshots will have slight texture compression.
- Look for Lighting Inconsistencies: Real CS2 lighting includes shadows and highlights. If the skin's lighting appears flat and uniform? Suspicious.
- Compare with Steam Inspect: Always do this. If the screenshot shows a clean barrel, but Steam Inspect shows scratches, the screenshot has been tampered with.
- Check Pattern Matching: For patterned skins (e.g., Case Hardened, Fade, Doppler), the screenshot must exactly match the pattern index. If the pattern in the screenshot doesn't match the pattern index in the inspect, someone has swapped the skin.
Step 5: Check the Play Side and Back Side of the Knife
This is the most important concept when buying knives, and also the most easily misunderstood.
Play Side refers to the side facing you when you hold the knife in first-person view. For most knives:
- Karambit: The play side is the curved side facing you, the back side is the flat spine.
- M9 Bayonet: The play side is the side with the serrations (the "clip point"), the back side is the smooth side.
- Bayonet: The play side is the side you see in the inspect view—the side with the blood groove (the fuller).
- Butterfly Knife: The play side is the side facing you when held, the back side is the opposite side.
- Flip Knife: The play side is the side facing you during inspection, the back side is the opposite side.
Why this matters: A knife with 95% Fade on the play side but only 10% on the back side is worth significantly more than the opposite. The same applies to Case Hardened—blue on the play side = high value, blue on the back side = irrelevant.
How to check the play side and back side:
- On CSFloat or Buff, use the toggle button to switch between play side and back side views.
- In the Steam Inspect view, rotate the knife 180 degrees to see both sides.
- For knives with dynamic finishes (Doppler, Marble Fade), check the color distribution on both sides. A "fake" gem with blue only on the back side is a common trap.
Step 6: Complete Step-by-Step Guide for Beginners
Here is the exact workflow I use before purchasing any skin over $50:
- Check Float Value – Look at the wear level in the listing (FN, MW, etc.).
- Copy the Inspect Link and paste it into CSFloat’s inspect tool.
- Check the Pattern Index – Is this pattern desirable for the skin? (Case Hardened: check blue coverage; Fade: check fade percentage; Doppler: check phase and color distribution.)
- Check Sticker Placement and Wear – Are the stickers scratched? Misaligned? From the same tournament?
- Toggle Between Inspect View and Back View (for knives).
- Load Steam Inspect and manually rotate the skin. Check for scratches on the inspect side, especially on edges and high-contact areas.
- Compare with Screenshots – Do the screenshots match the Steam inspect view? If not, the screenshots have been tampered with.
- Check the Name Tag – If present, think about why.
- Compare Market Prices – For similar wear/pattern skins. Use CSFloat’s price comparison or Buff’s historical data.
- Take a deep breath. If everything looks good, buy it. If something feels off, walk away.
The Tools You Actually Need
| Tool | Best Use | Cost | Link |
|---|---|---|---|
| Steam Market Inspector | Basic inspection | Free | Built into Steam |
| CSFloat | Float, pattern, sticker wear, price comparison | Free | csfloat.com |
| SkinBid | Real-time auctions, quick 3D preview | Free | skinbid.com |
| Buff163 | Largest marketplace, inspect side switching | Free | buff.market |
| Steam Inventory Helper | Quick inspect link generation | Free (browser extension) | Chrome/Firefox |
Final Thoughts
Let's be honest: 90% of buyers will skip the detailed inspection. They see a good price, check the float, and just click buy. That's why 90% of traders have been burned at some point.
In my opinion, spending an extra 2-3 minutes on every purchase is the best investment you can make in CS2 trading. It's not paranoia—it's about knowing exactly what you're getting. The market rewards smart buyers and punishes lazy ones.
Still unsure? Ask a friend to double-check with you. A fresh pair of eyes can catch things you've missed. I've saved hundreds of dollars just by having a second set of eyes look at a skin I was about to buy.
Now go inspect something. And for God's sake, spin that damn knife.